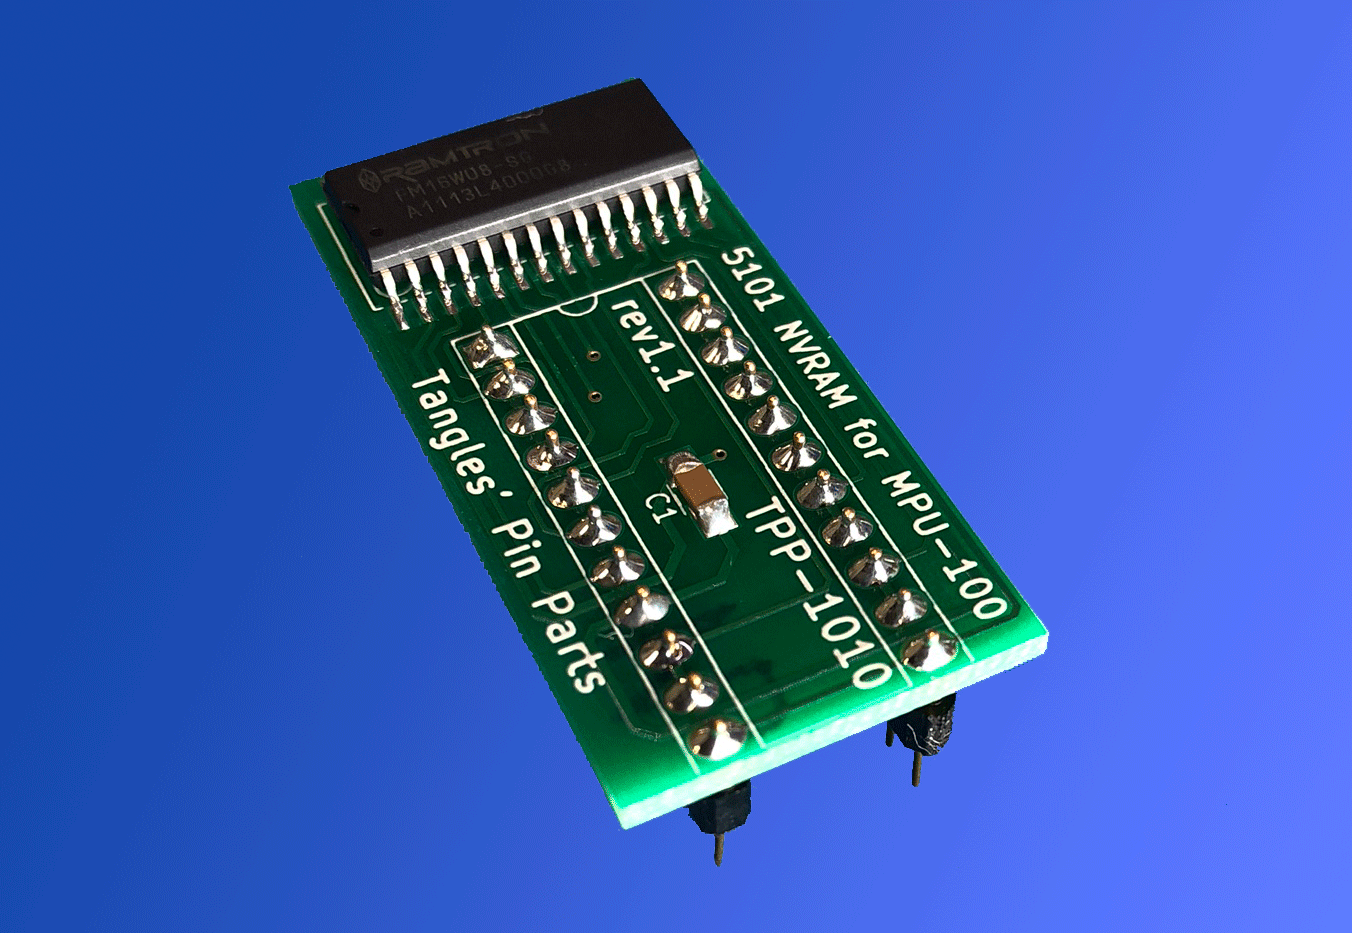
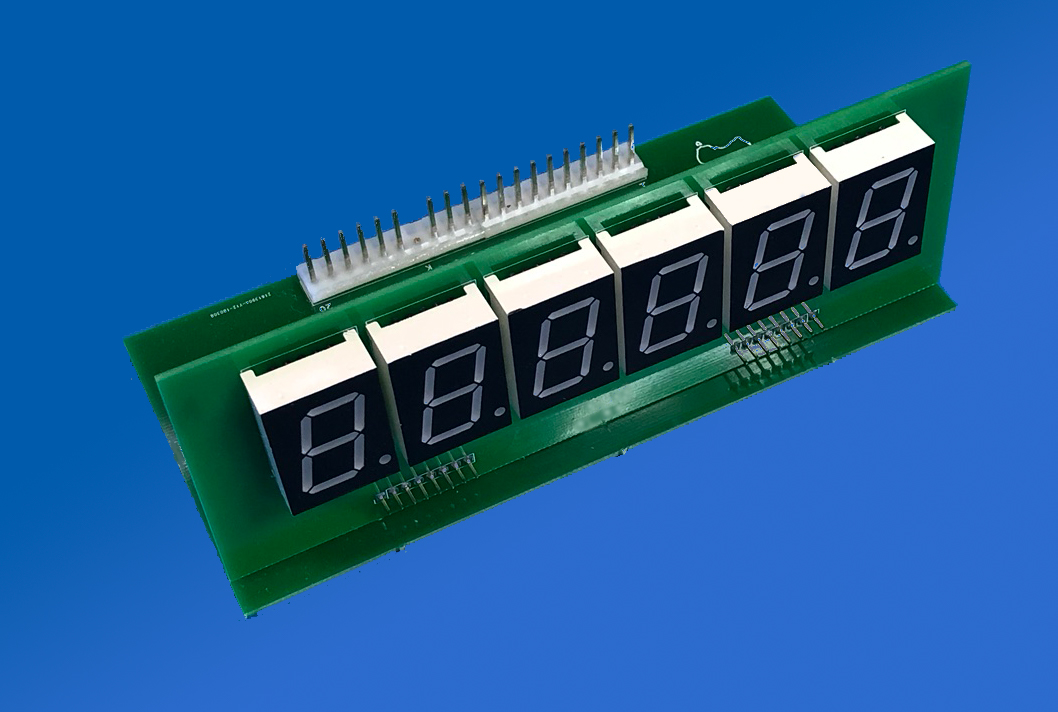
This blog details the installation of a 5101 NVRAM into a Williams System 6 machine. The part used here is from Tangles’ Pin Parts – p/n TPP-1012.
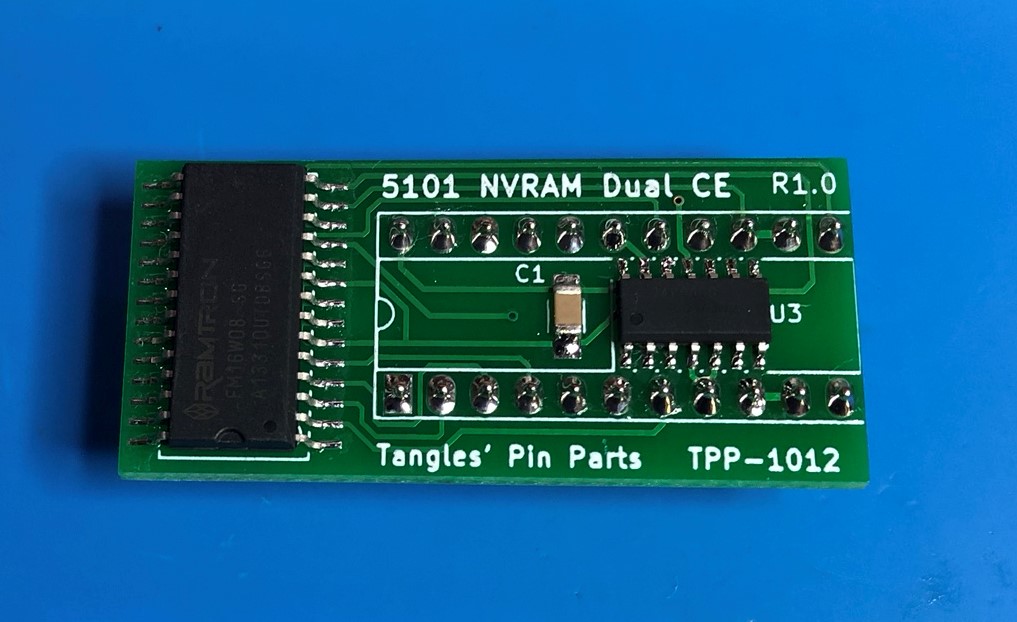
If you want to purchase one of these NVRAMs then click here…

The procedure is ranked as difficulty high because the 5101 memory needs to be de-soldered from the board and a socket installed.
This procedure is very similar for System 3 to System 7 systems.
Having removed the CPU boards from the pinball machine, we start by removing the batteries. On the board pictured below, the batteries are removed from the attached remote battery holder.
Identify the 5101 chip on the CPU board.
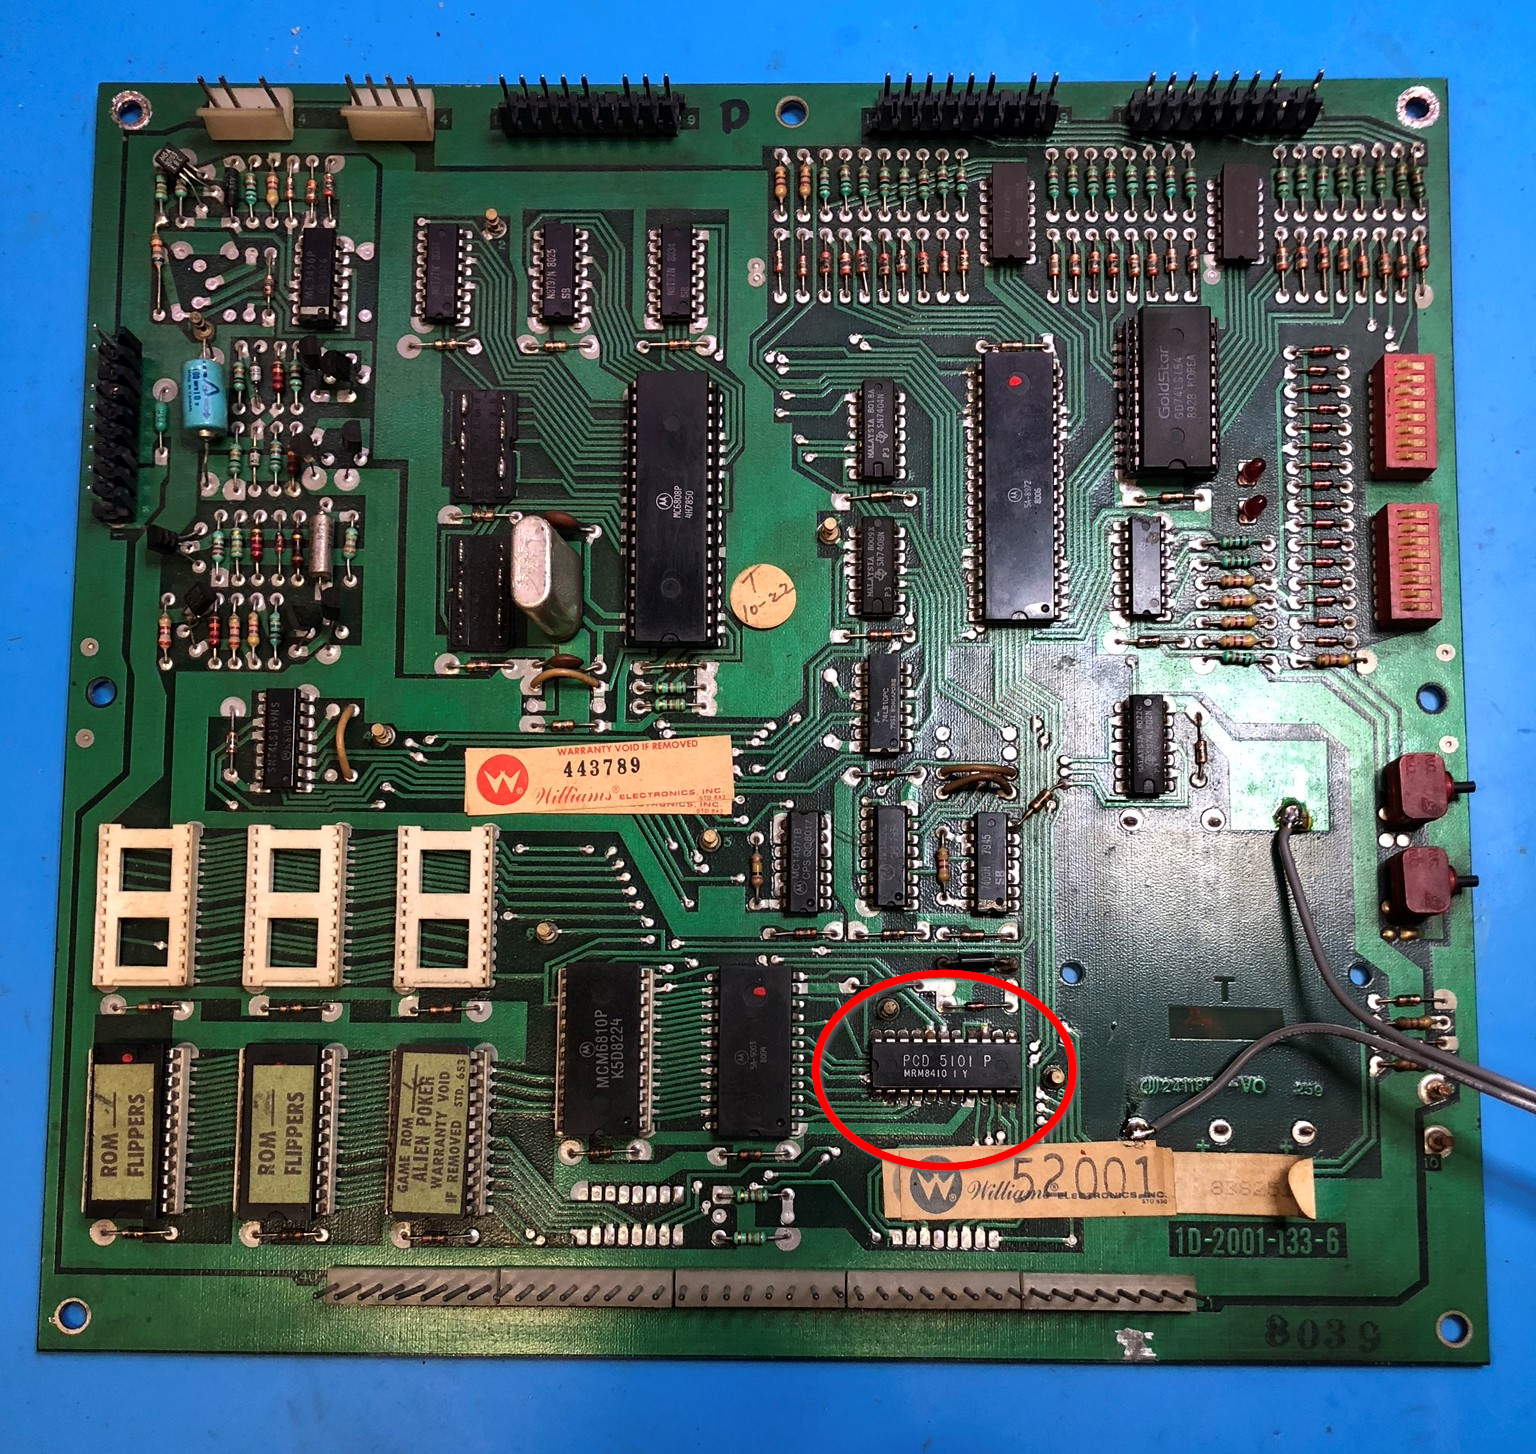
The Williams boards have fat traces so de-soldering is easier and safer than on some other systems.
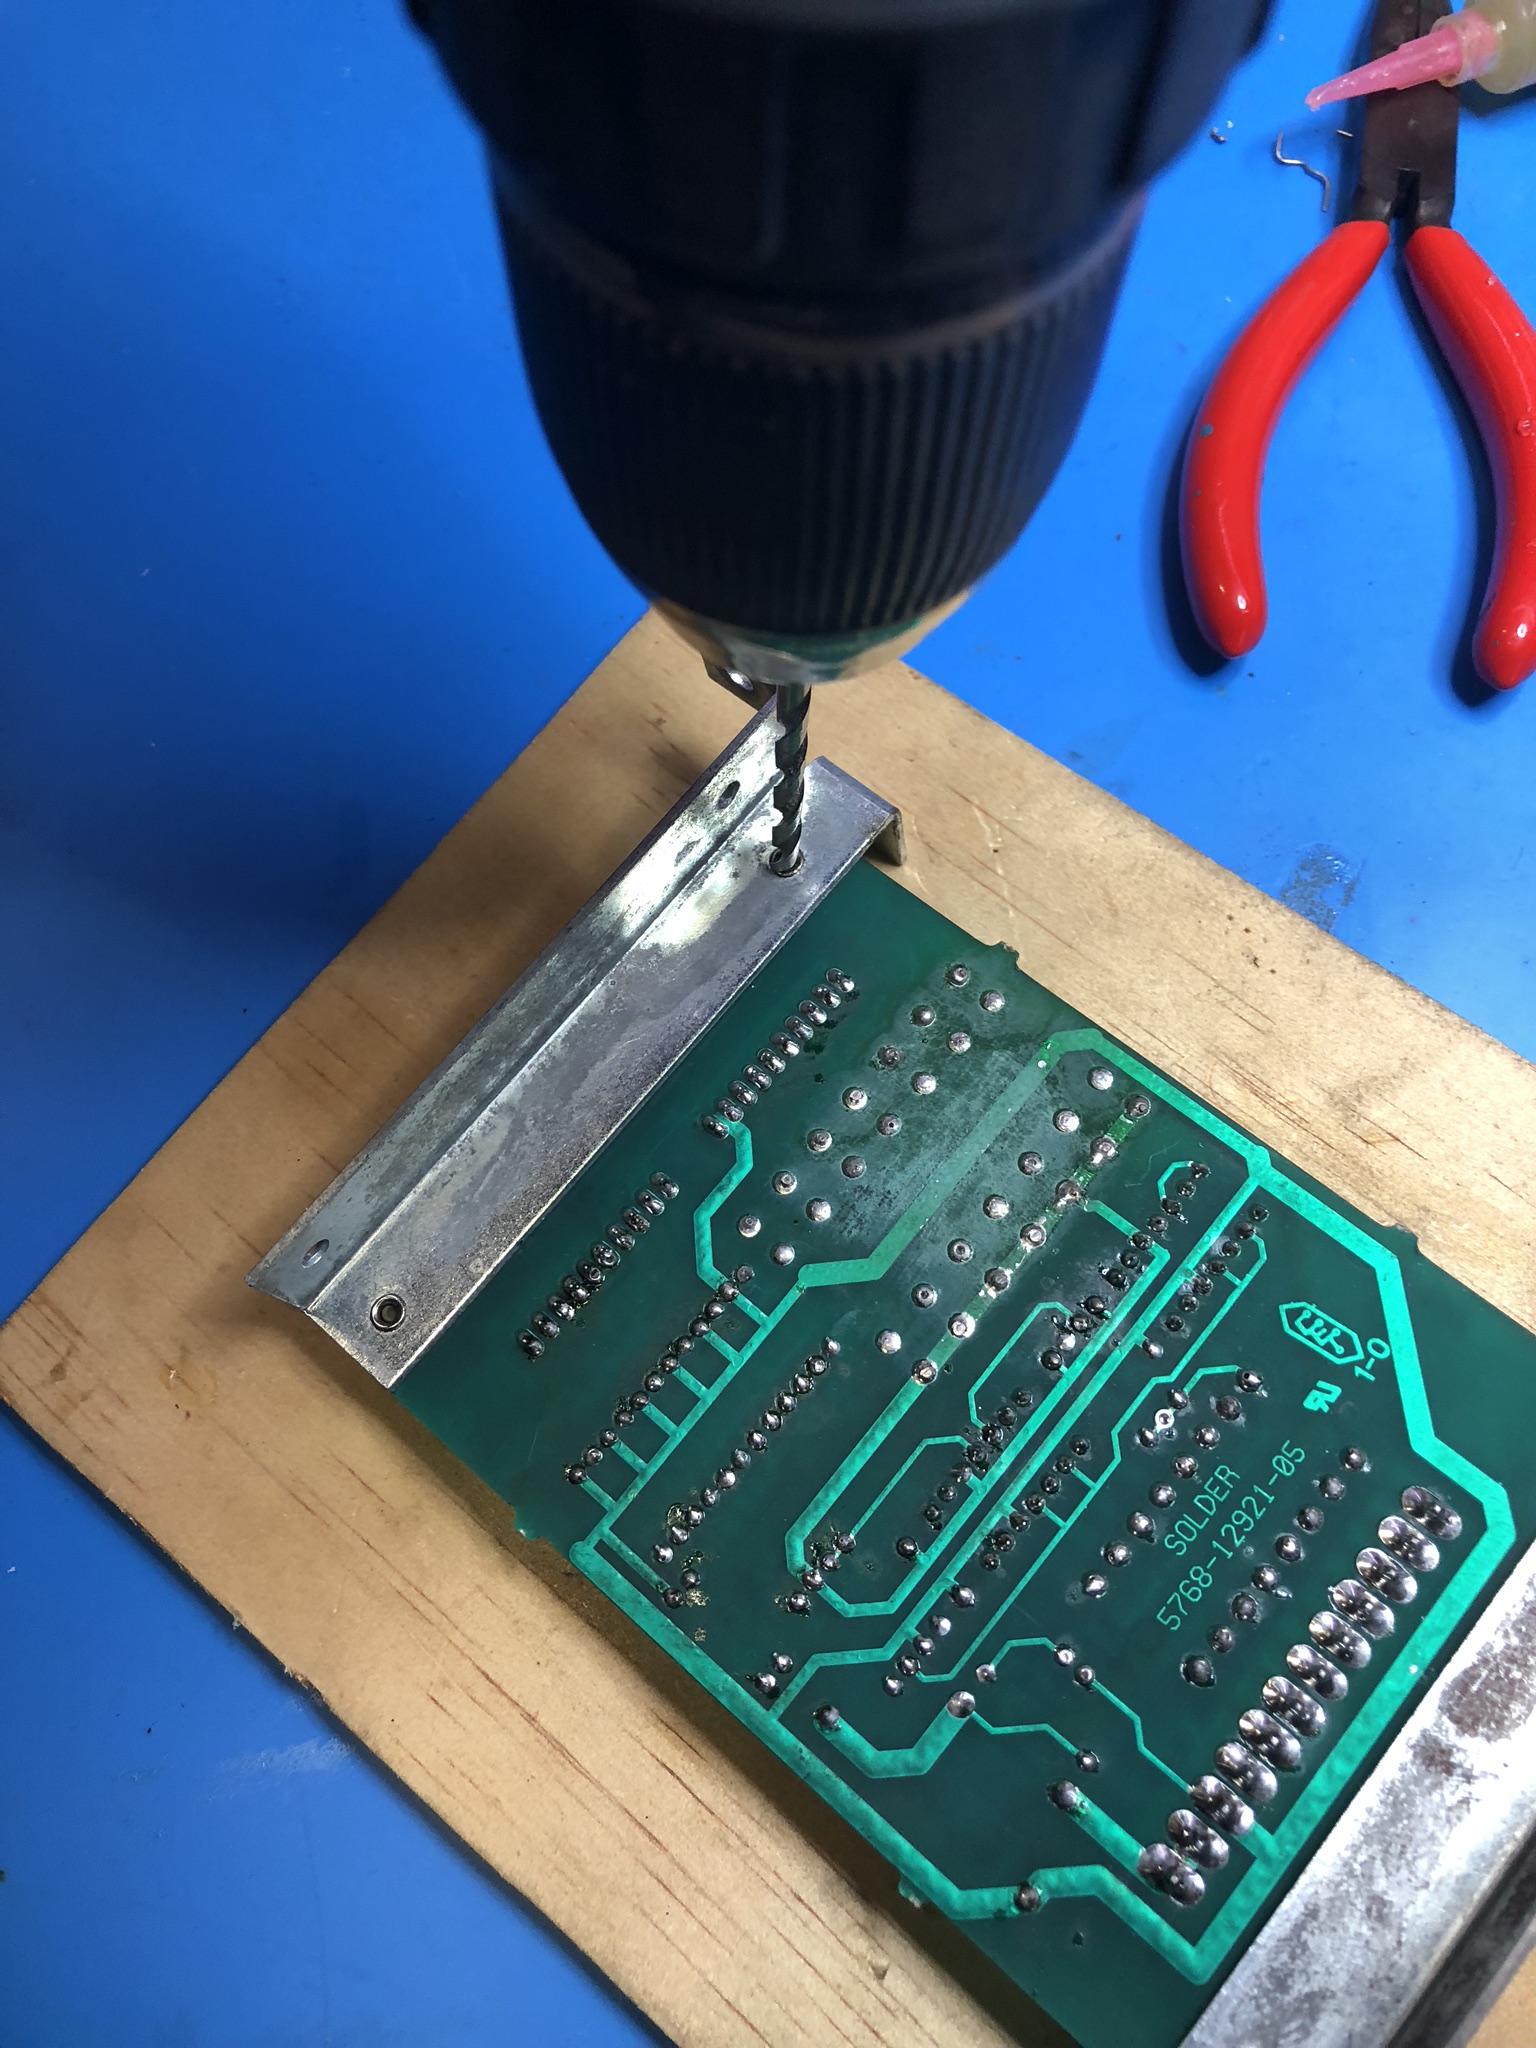
Flip the board over and de-solder the 5101 chip.
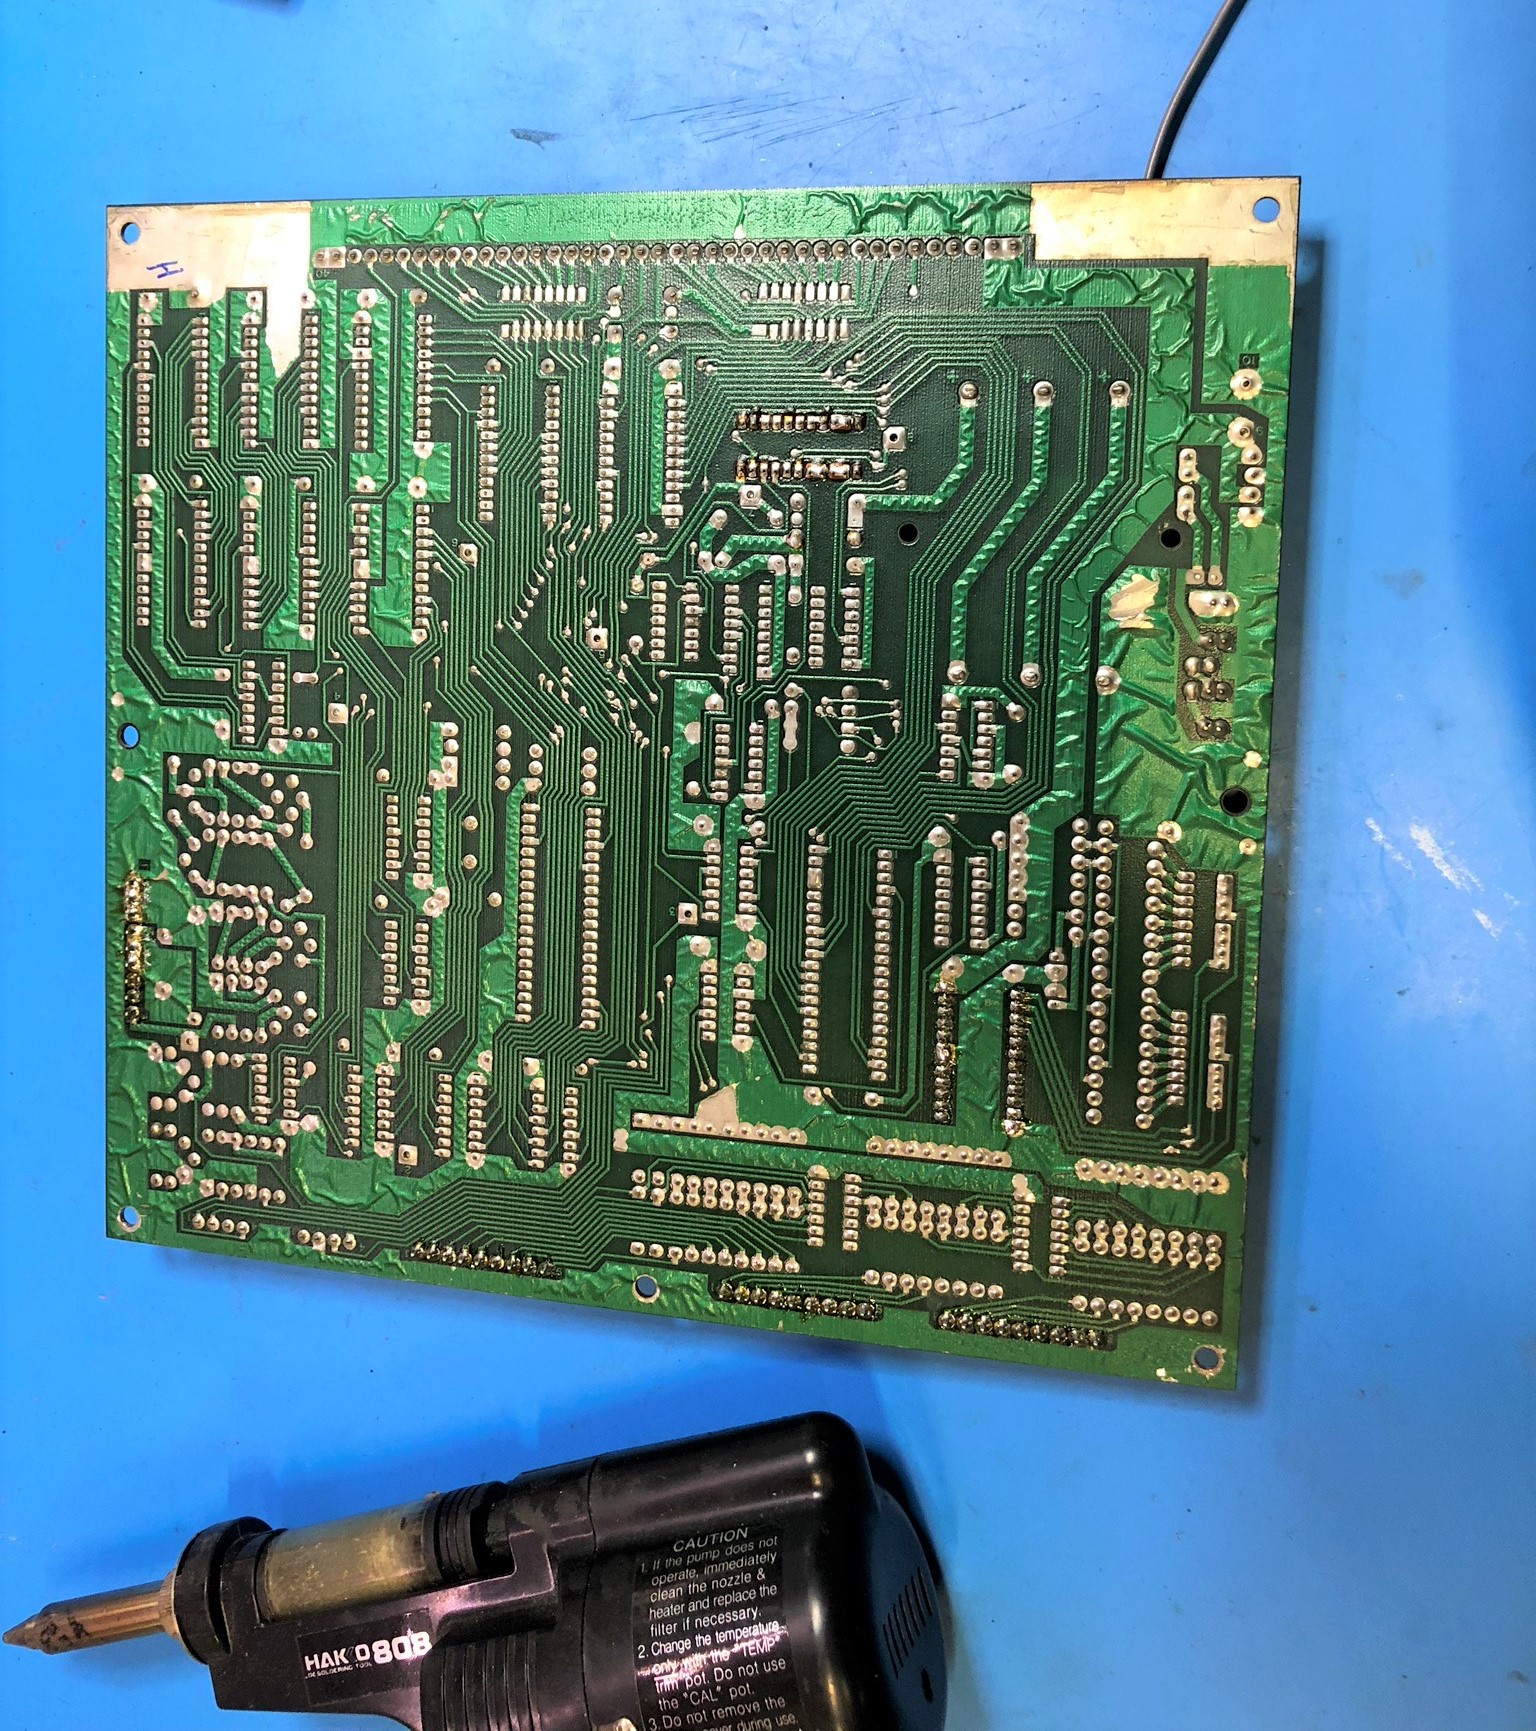
I used isopropyl alcohol to clean the top and bottom of the board in readiness for the new socket.
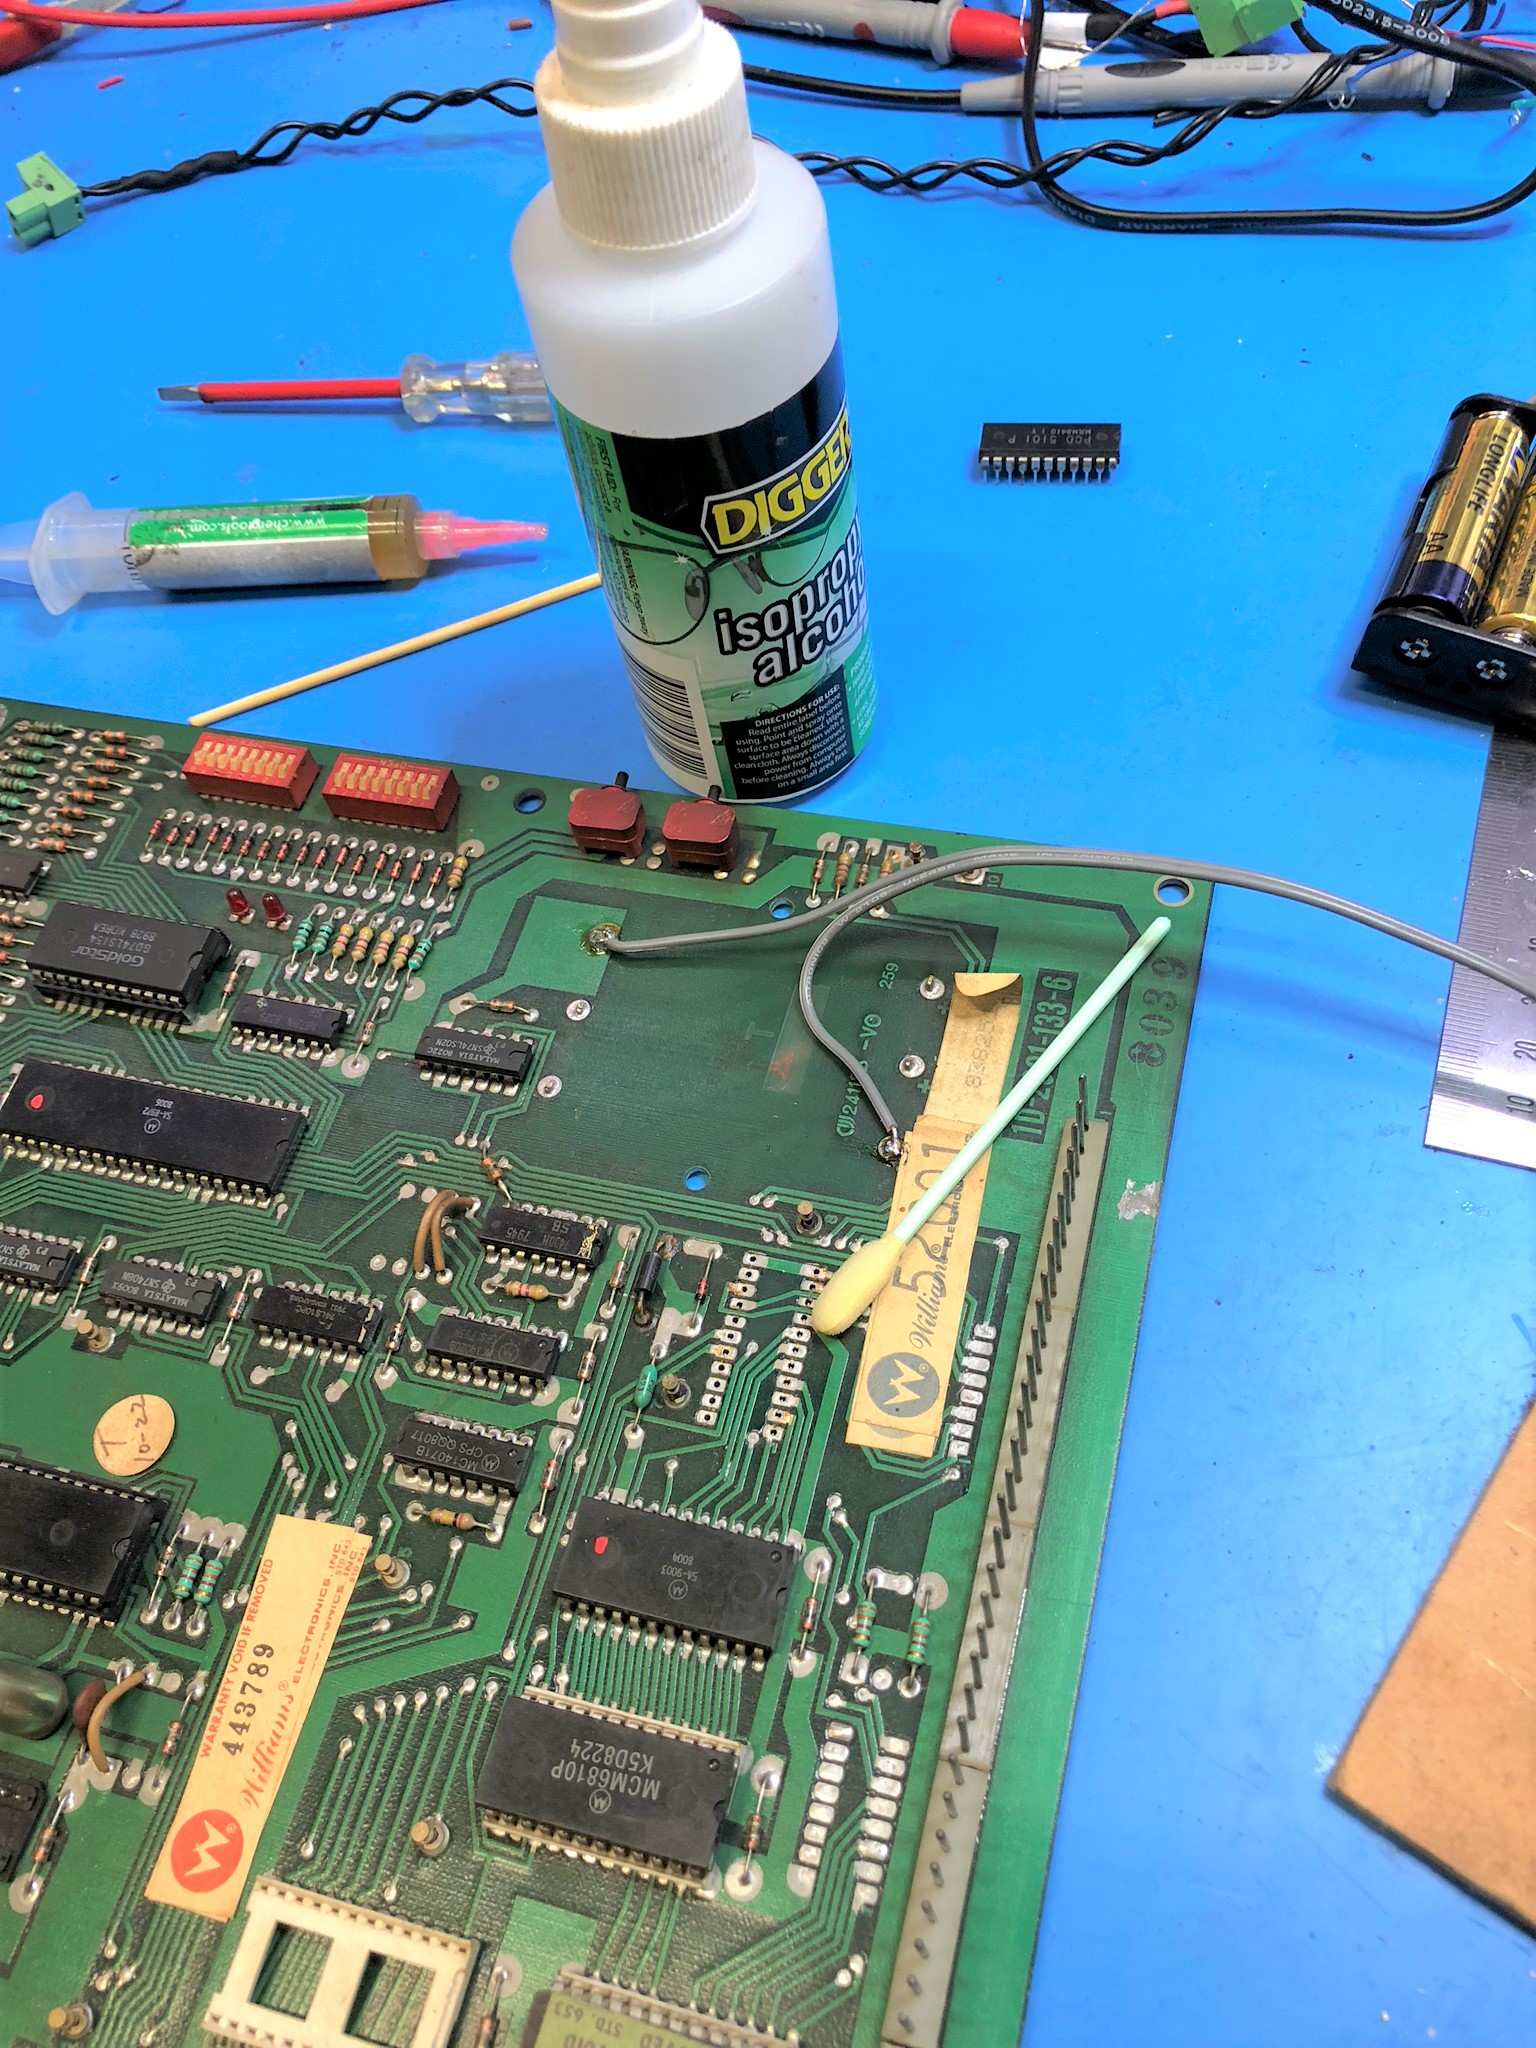
The 22 pin IC socket is now ready for installation
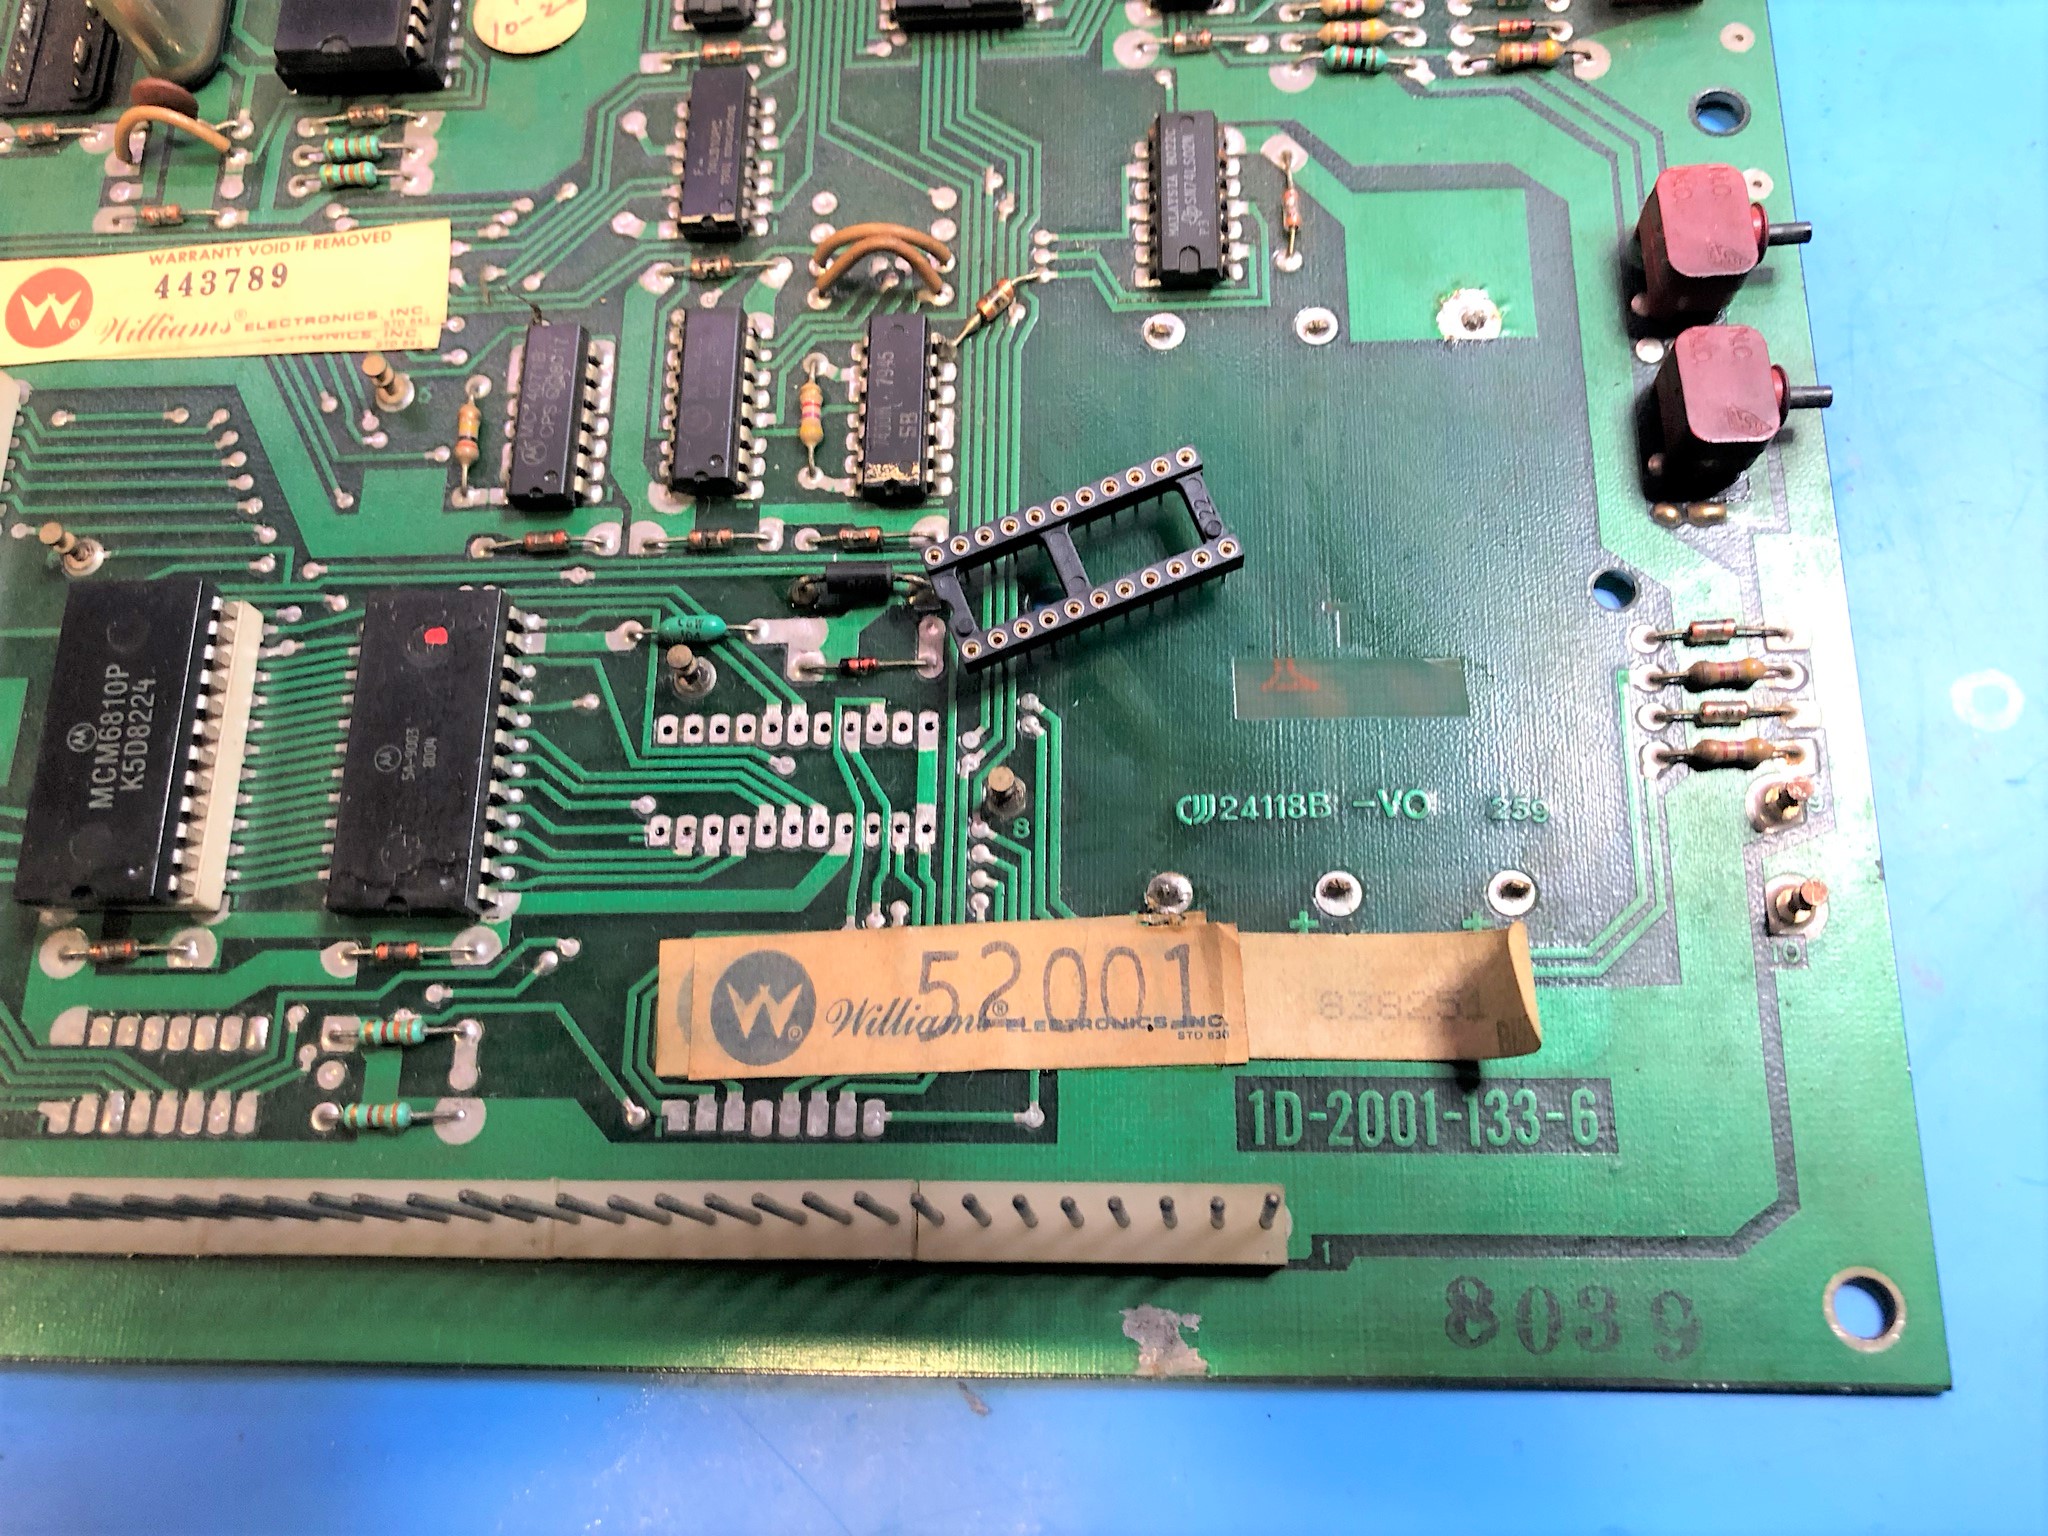
The socket is installed. Give the new solder joint a clean with IPA.
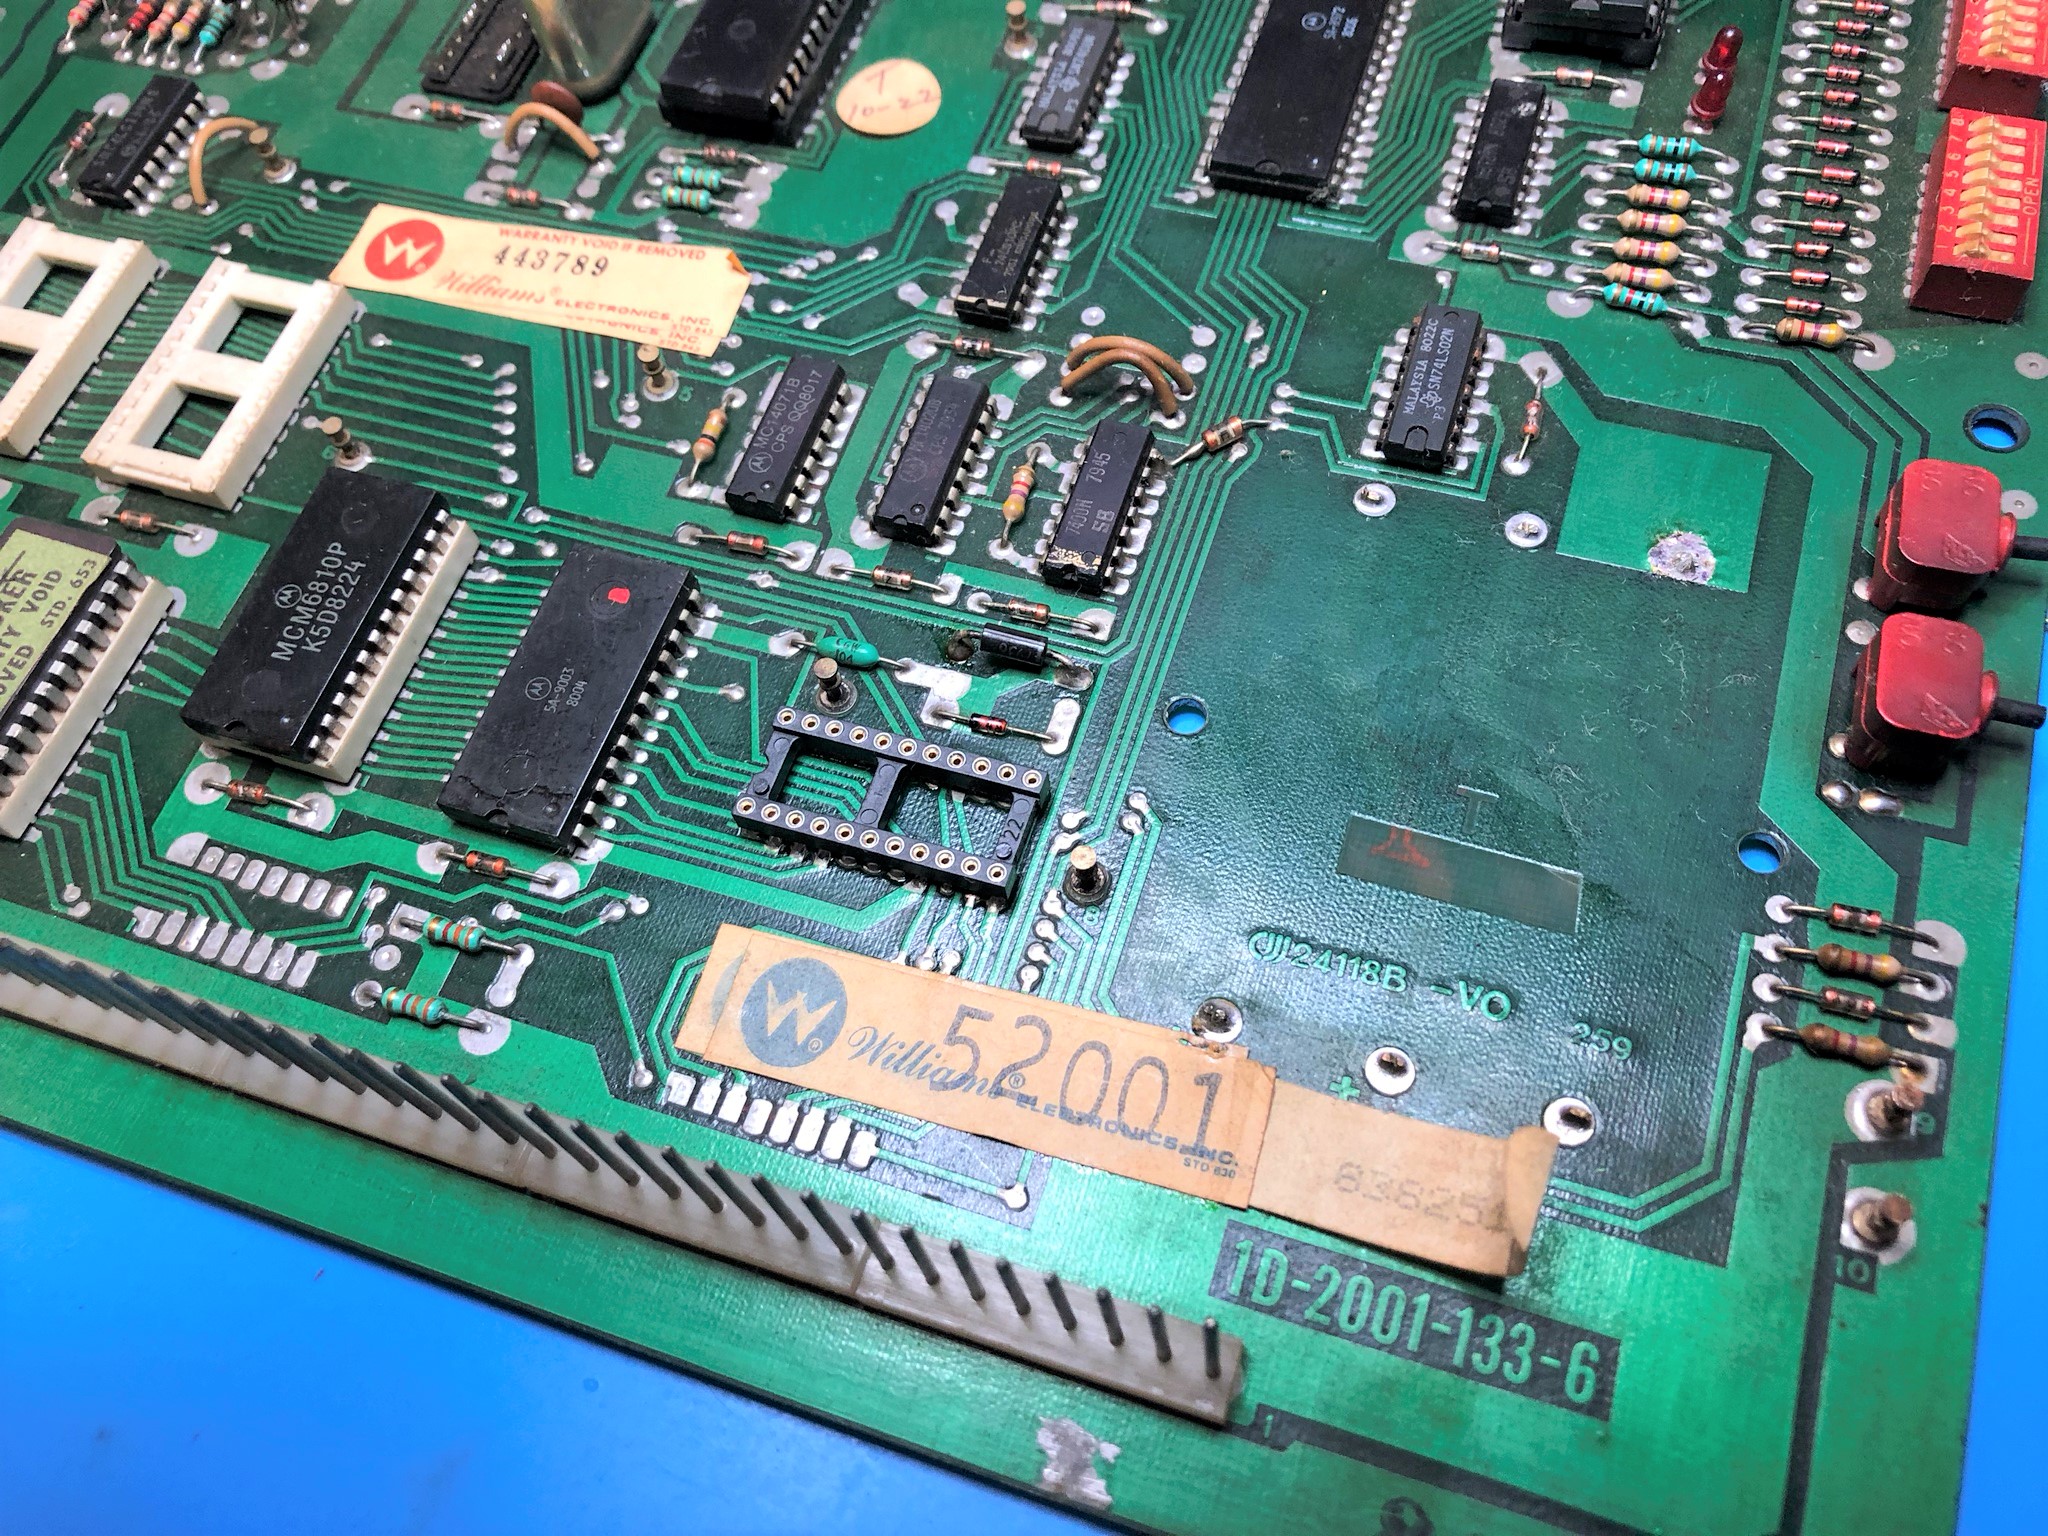
Using a turned pin socket is recommended as it lets you inspect the solder joint from the top and the bottom. Make sure the new socket has good solder flow on both the top and the bottom. It is very important on these old boards to not rely on the thru-plating to connect the top and bottom of the board.
Now it’s time to install the NVRAM module. Take care to install in the right way round and ensure all 22 pins mate with the IC socket.
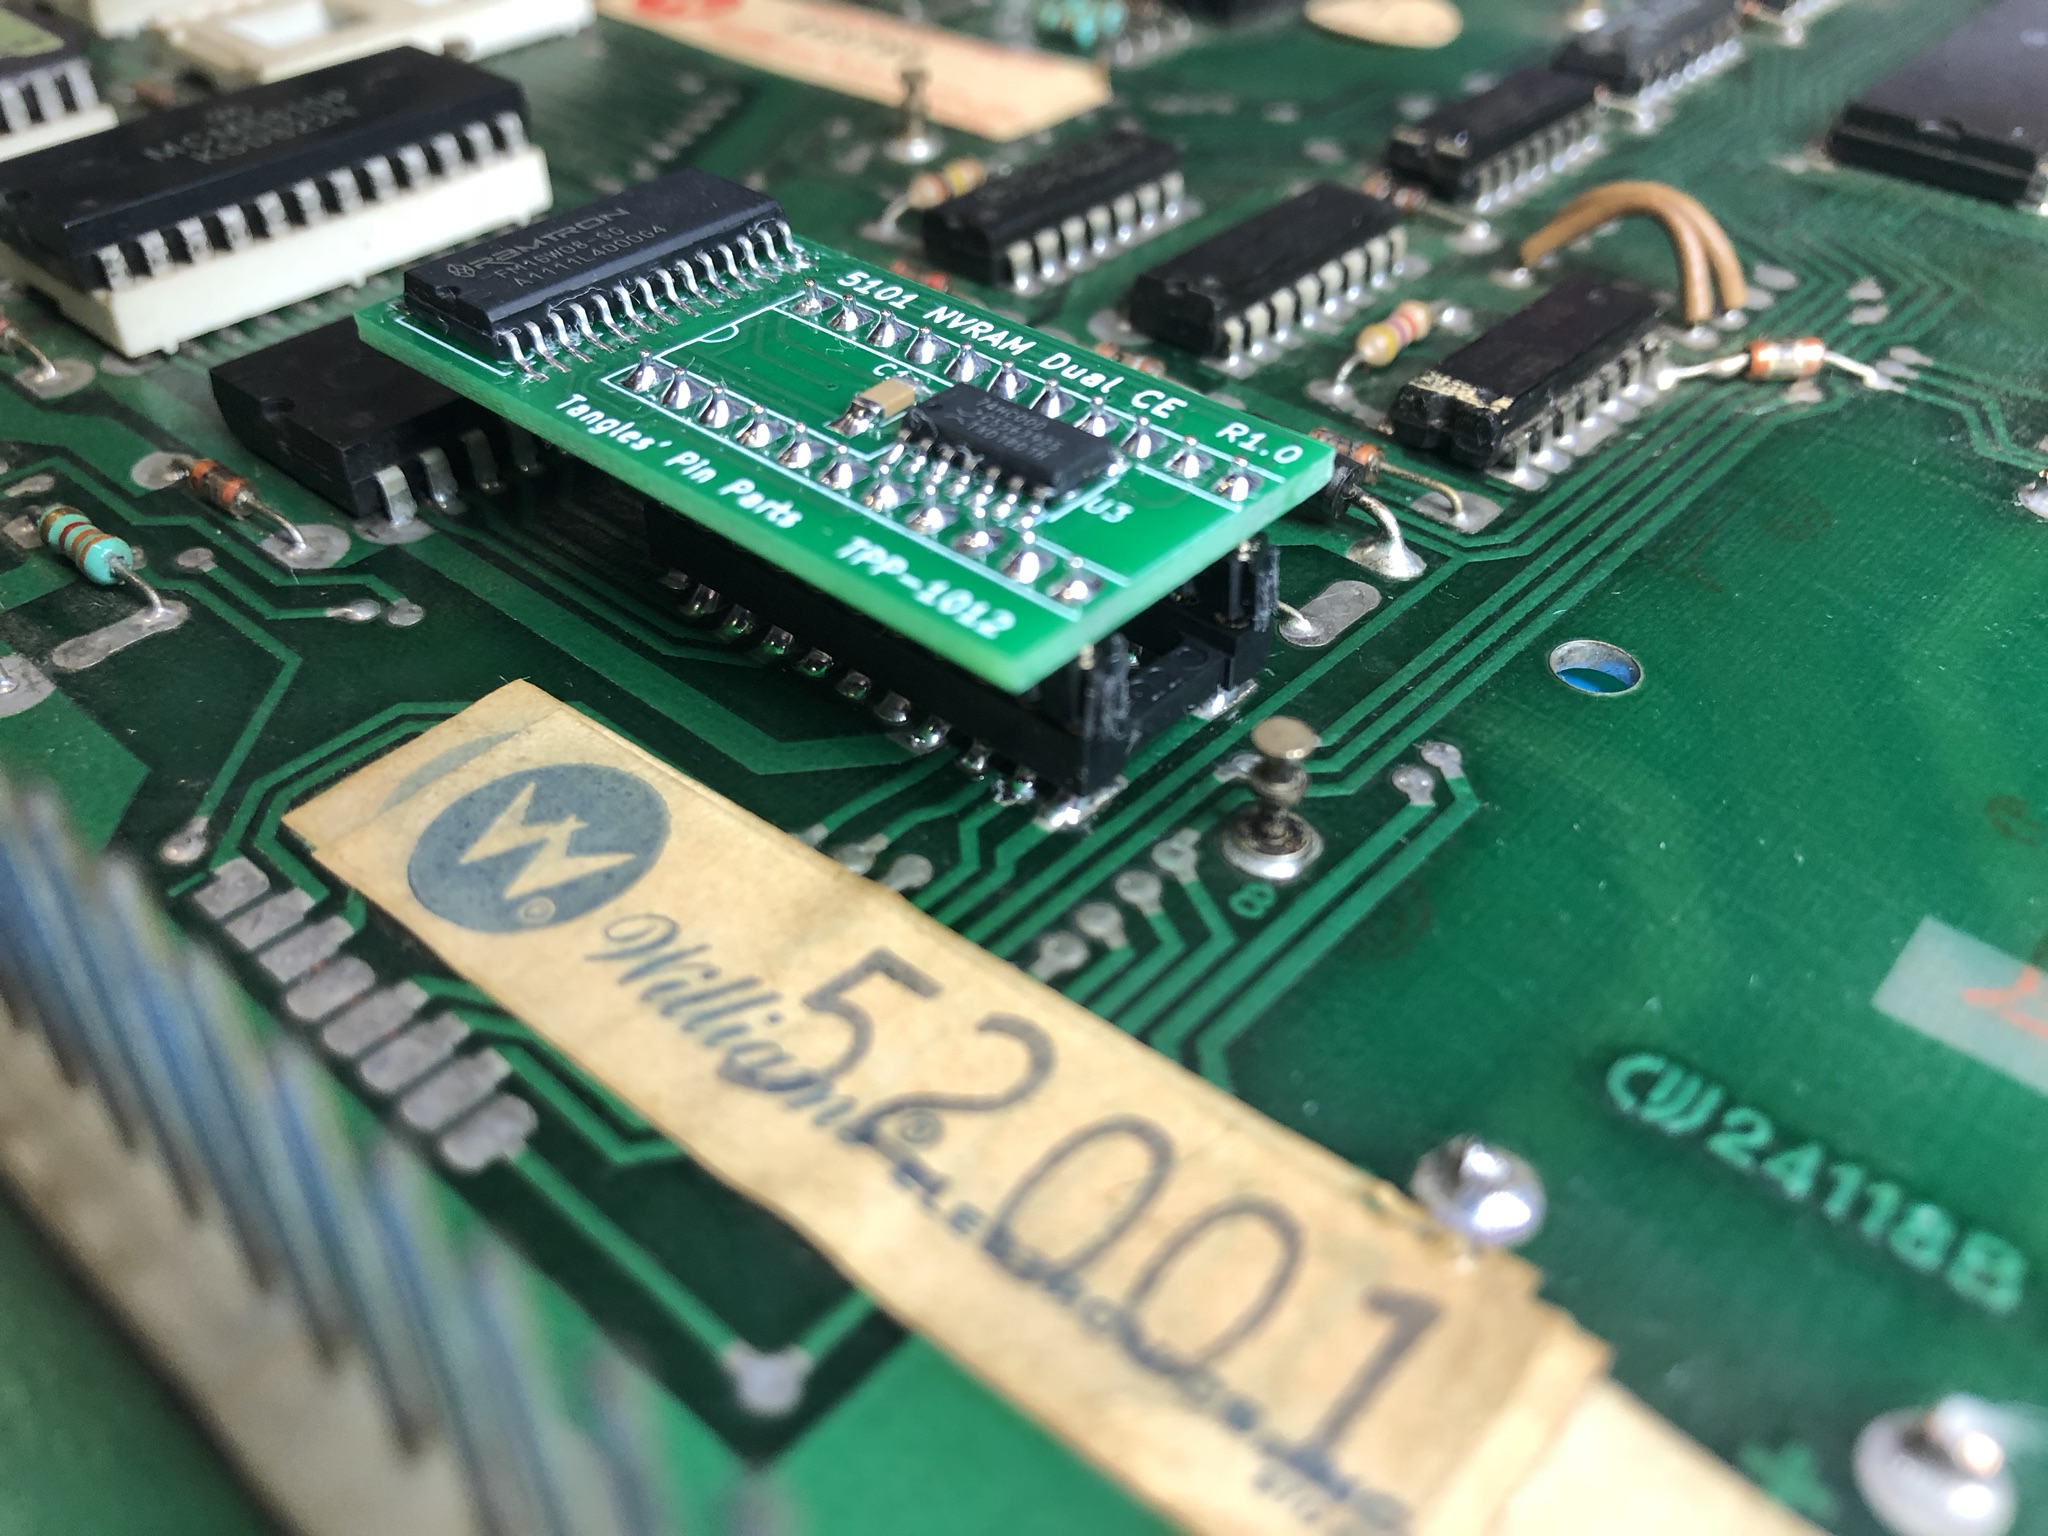
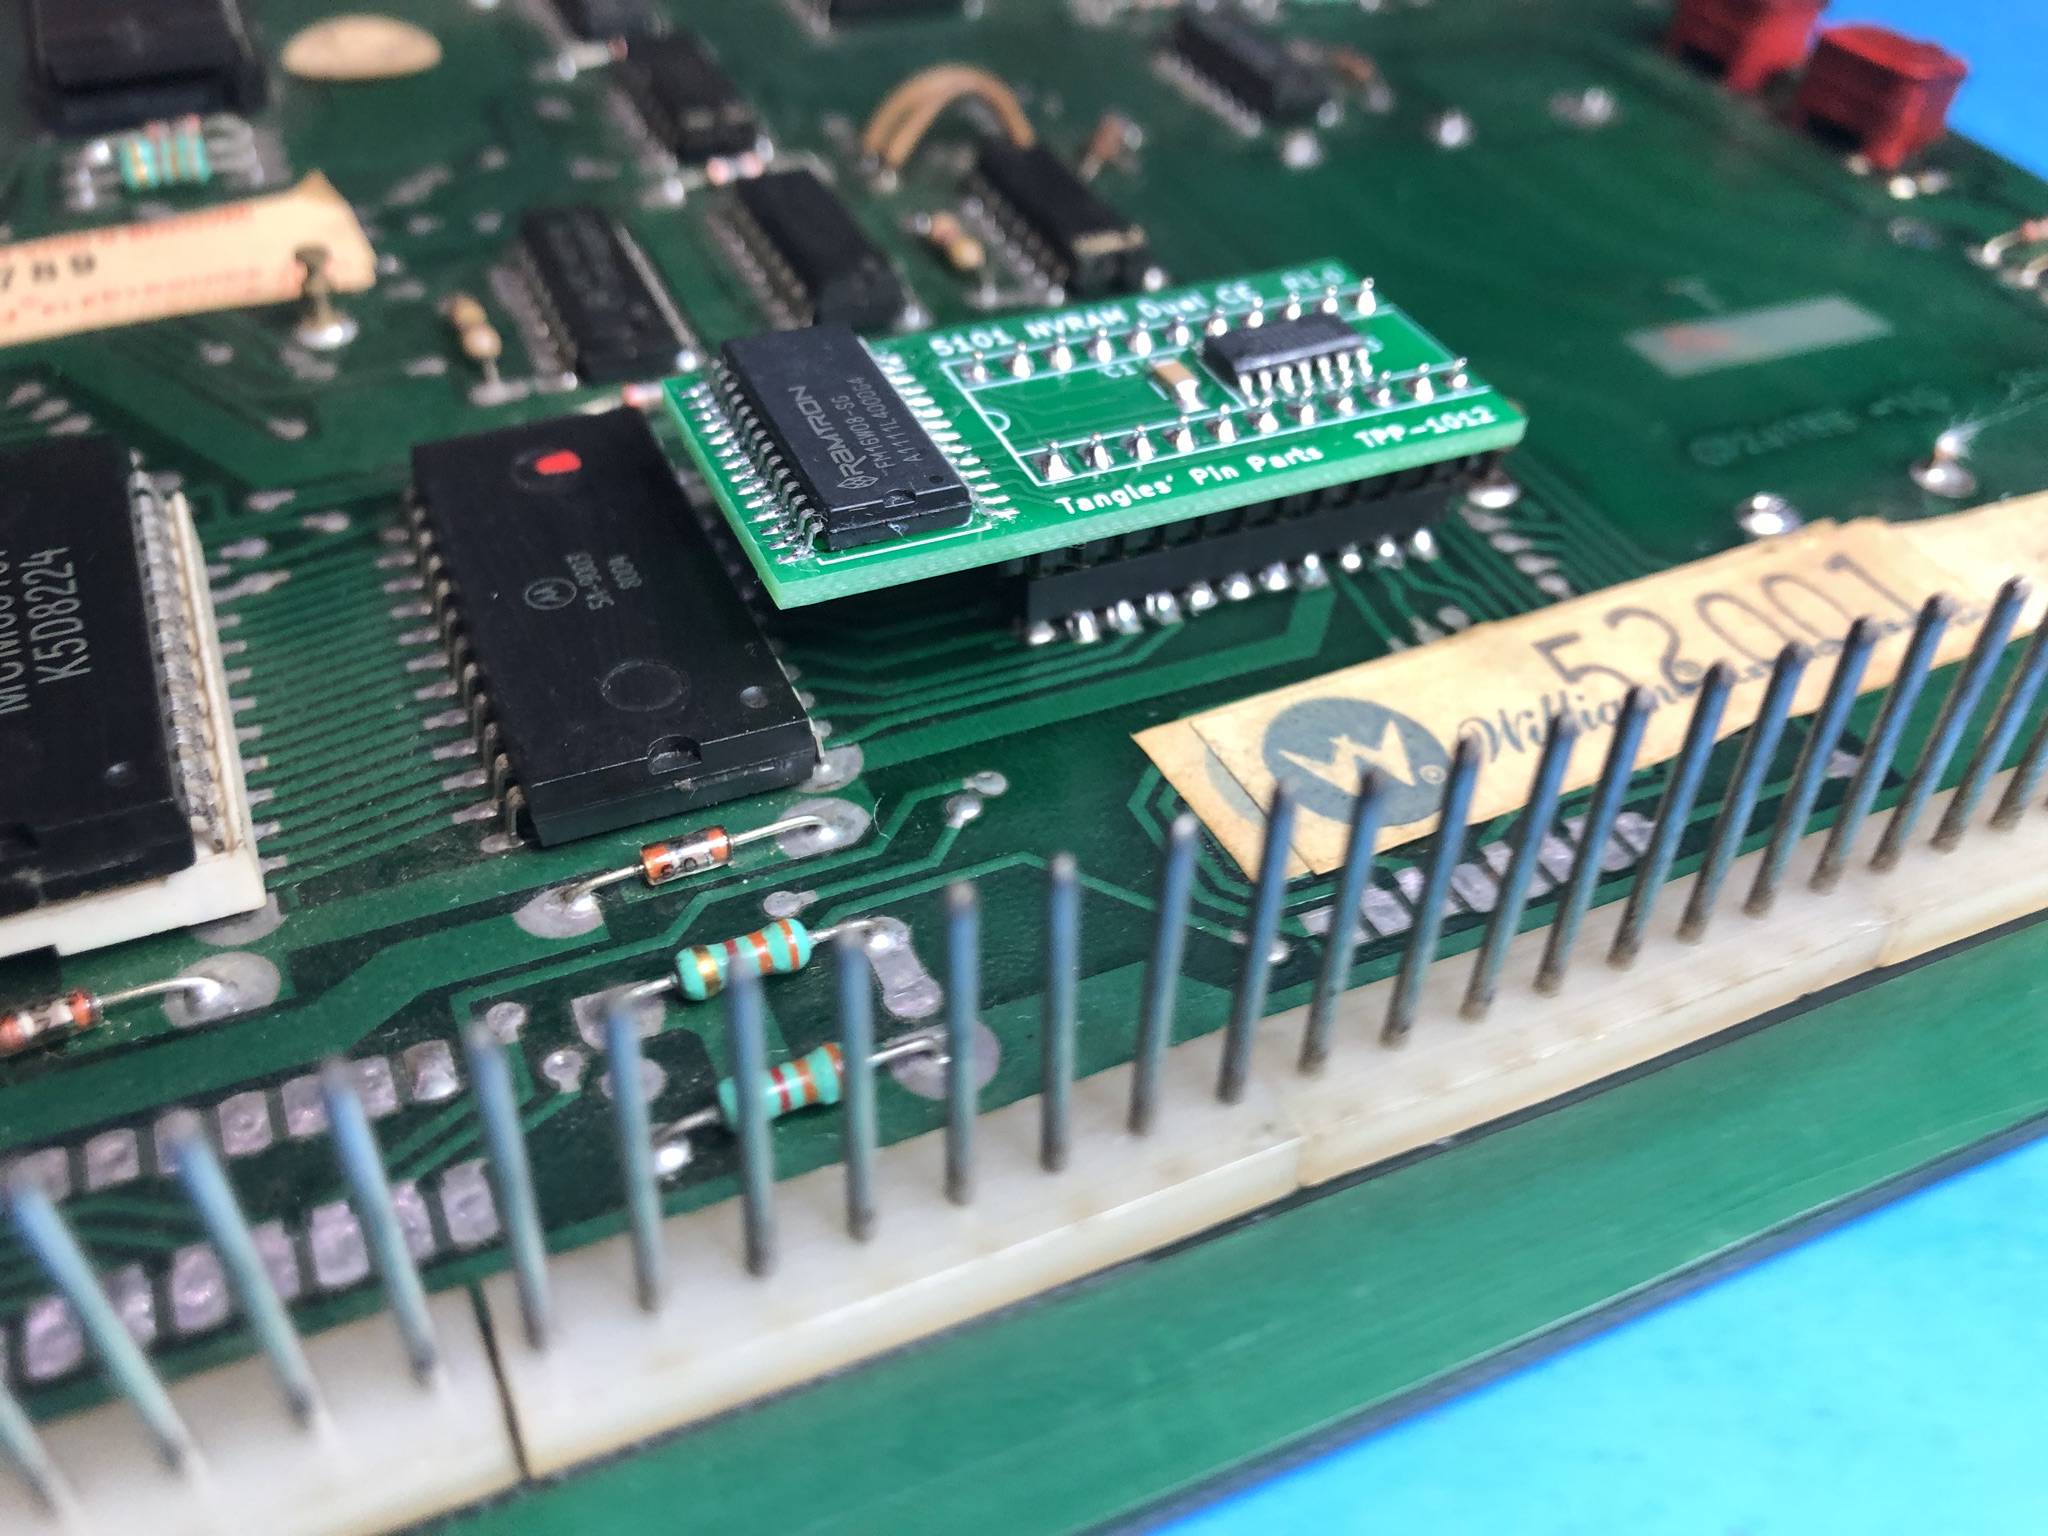
The CPU board has had a final inspection and is ready to re-install in the pinball machine.
All audits and saved data will be lost. When re-powering the System 6 it will enter the audit mode, showing ROM version number in the top left display. To clear this mode you need to open the coin door and flick the power off and on quickly.
I recommend using the machine manual and go through all system settings and set them to your requirements… (eg free play and number of balls).

